

TM 9-2350-222-20-1-4
UNIVERSAL JOINT REPLACEMENT (Sheet 3 of 7)
-
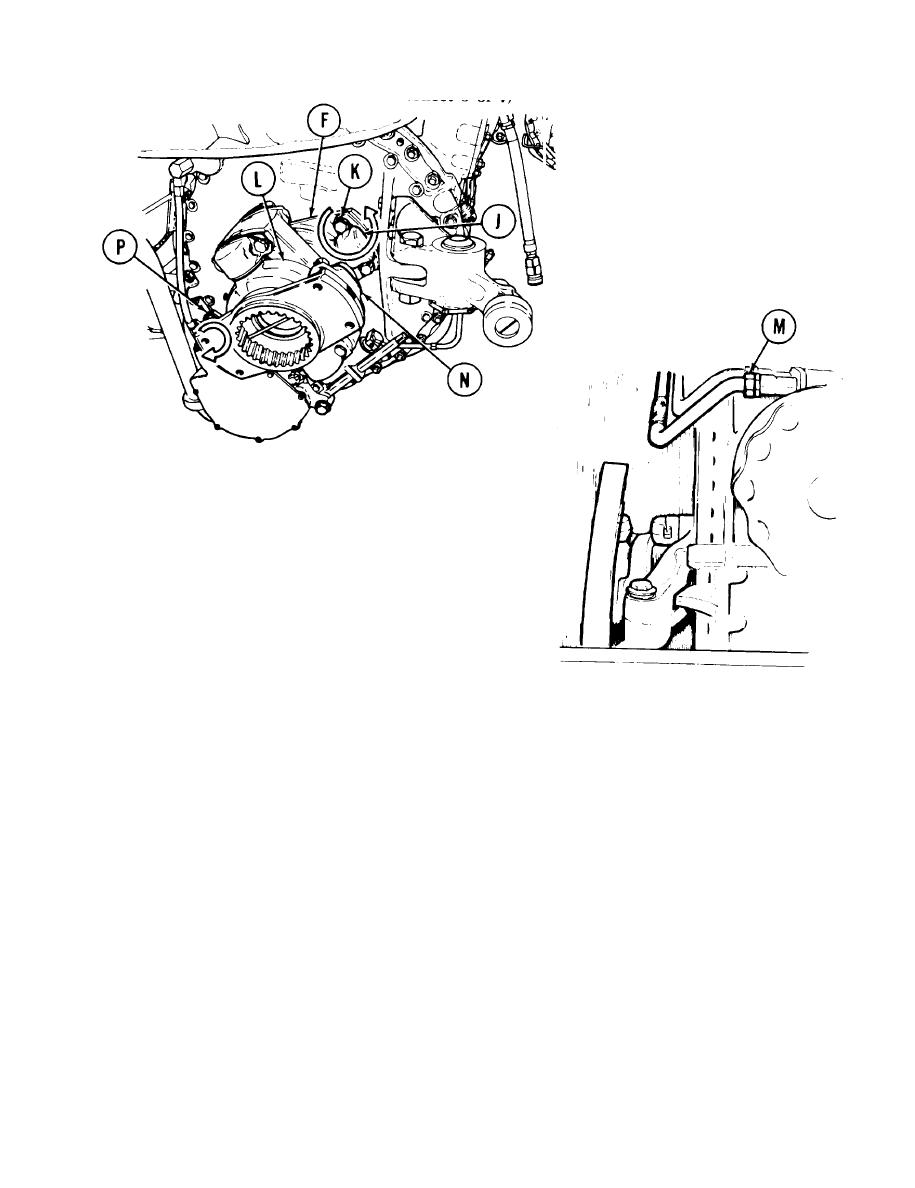
9. Using cutting pliers, cut two lockwires (J),
Remove lockwires.
NOTE
Turn final drive adapter assembly
(F) left or right to remove all four
screws (K). It may be necessary to
u s e crowbar to wedge universal
j o i n t to prevent it from turning
while removing screws (K).
----_
10. Using hinged handle, 13/16 inch socket, extension, and ratchet, remove three of four screws (K).
11. Tighten rope to universal joint (L).
12. Using hinged handle, socket, extension, and ratchet, remove fourth screw (K).
13.
Using 1-1/2 inch wrench, loosen connector (M). Move oil cooler tube to one side.
14. Using rope and crowbar, lift universal joint from vehicle and place in work area.
15. Remove rope from universal joint.
16. Using cutting pliers, cut lockwire (N). Remove lockwire.
17.
Using socket wrench handle and hammer, if required, loosen four screws (P).
18. Using ratchet and 13/16 inch socket, remove four screws (P).
G O on to Sheet 4
TA140305
12-13
