Keep personnel clear of the blade while the blade
is raised. The blade could fall, resulting in injury
or death.
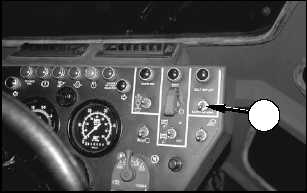
7. Move the self-deploy/earthmoving switch to SELF-
DEPLOY position (15).
NOTE: The machine must be in the SELF-DEPLOY
mode to unlock the suspension. Refer to “Machine
Operation, Self-Deploy Mode” in this section for the
procedure to place the machine in the SELF-DEPLOY
mode.
8. With the engine operating at low idle, hold auxiliary
charge switch (16) up to direct hydraulic oil into the
recoil cylinder.
9. Watch the pressure reading on the pressure gauge
on gauge assembly (9).
10. Release auxiliary charge switch (16) and close ball
valve (5) (turn the valve knob perpendicular to the
valve body) when the pressure reading on the
pressure gauge reaches 15 170 kPa (2200 psi).
NOTICE
Overtightening the drive belt will cause accelerated
wear of undercarriage components and decreased
machine performance.
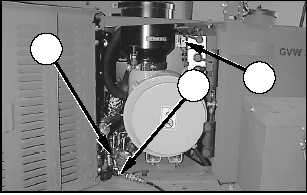
11. Turn nut (2) three-quarters of a turn
counterclockwise (this locks the valve). Open ball
valve (5) (turn the valve knob in line with the valve
body).
12. Remove coupling (6) from fitting (12).
13. Repeat Steps 4 and 8 through 11 for the other
drive belt, if necessary.
14. Remove coupling (7) from pressure tap (11) on the
multifunction valve.
15. Turn nut (2) counterclockwise, until the nut stops
rotating (an additional three-quarters of a turn may
be required). Remove coupling (6) from fitting (12).
16. Disconnect coupling (8) of the gauge group from
coupling (3) of the charge hose. Disconnect
coupling (10) of the gauge group from coupling (4)
of the charge hose. Connect coupling (3) to
coupling (4). Return the charge hose and gauge
group to the BII compartment for storage.
17. Deliver the machine to Unit Maintenance as soon
as possible to recharge the suspension.
5
9
16
15
WARNING
!
68
Operation Section
Machine Operation
TM5-2430-200-10


