

TM 9-2350-222-34-1
FINAL DRIVE REPAIR (Sheet 5 of 30)
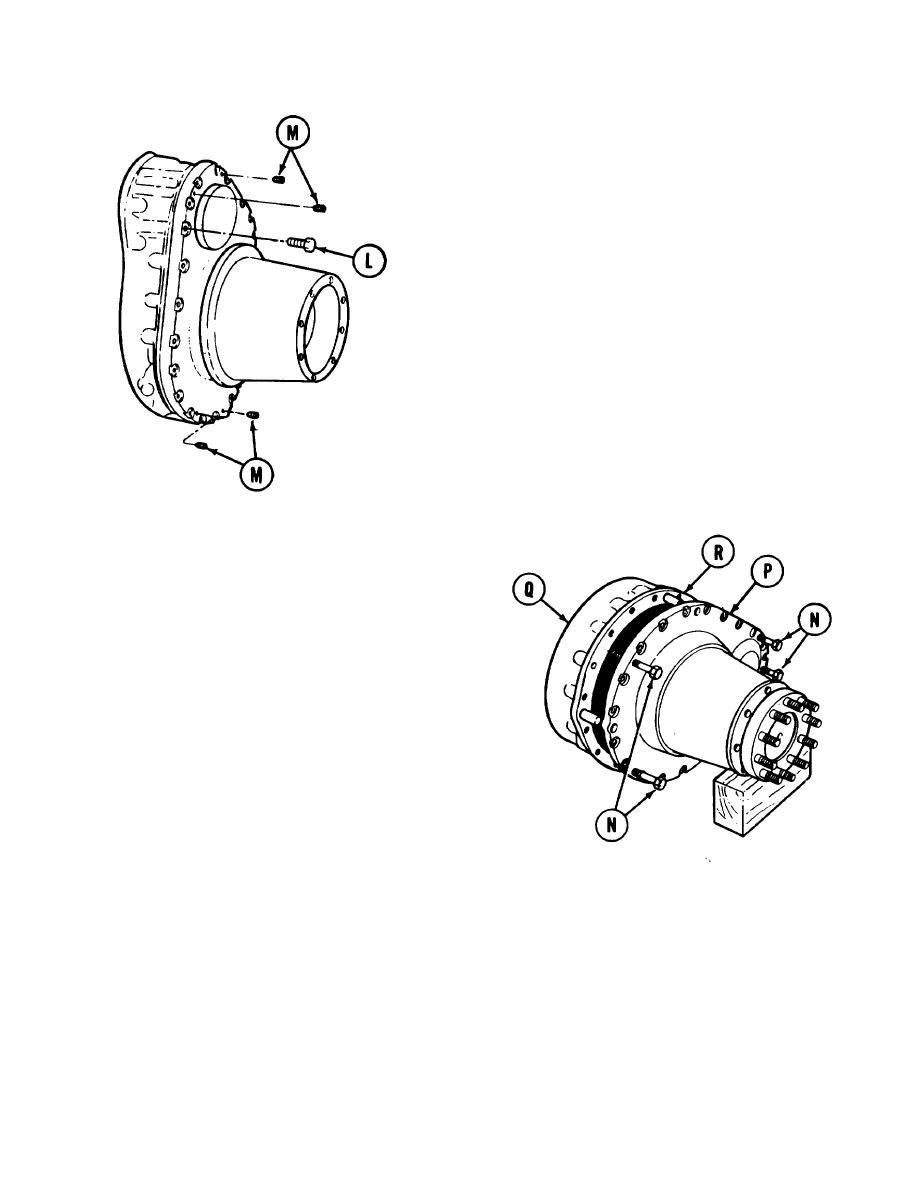
NOTE
Early model final drives have 7/8 inch
head bolts and late models have 1
inch head bolts.
NOTE
It may be necessary to use a handle
extension on hinged handle to
remove bolts (L).
16. Using a 7/8 inch or 1 inch socket and hinged bar
with 1/2 inch drive, remove twenty bolts (L).
17. Using 5/16 inch allen wrench, remove four
setscrews (M).
CAUTION
Make sure setscrew holes have been
tapped prior to installing jackscrews
to avoid stripping.
* Keep surfaces of case and carrier
parallel to avoid binding during
separation.
18. Using fingers, install four 5/8 x 18 x 4 inch
jackscrews (N) in setscrew holes.
19. Using 5/8 inch socket, slowly and evenly tighten
the-four jackscrews (N) to separate final drive
carrier (P) from case (Q).
20. Using 5/8 inch socket, remove four jackscrews
(N) from frame carrier (P).
21. Using fingers, remove gasket (R). Throw gasket
away.
22. Using suitable lifting device, position final drive
on its side.
Go on to Sheet 6
Change 3 7-5

