

TM 9-2350-222-20-2-3-2
36-7.
BALLISTICS COVER INSTALLATION PROCEDURE
1/2 in. drive hinge handle
TOOLS:
3/4 in. socket (1/2 in. drive)
Torque wrench (1/2 in. drive) (0 to 250 foot pounds)
1/2 in. socket head screw key (Allen wrench)
1/2 in. hex head socket (1/2 in. drive)
PERSONNEL: Two
EQUIPMENT LOCATION INFORMATION:
FOLDOUT
EQUIPMENT
CALLOUT
11
Driver's Master Control Panel
EQUIPMENT CONDITION:
Driver's master control panel MASTER BATTERY switch set to OFF
Procedure
Step
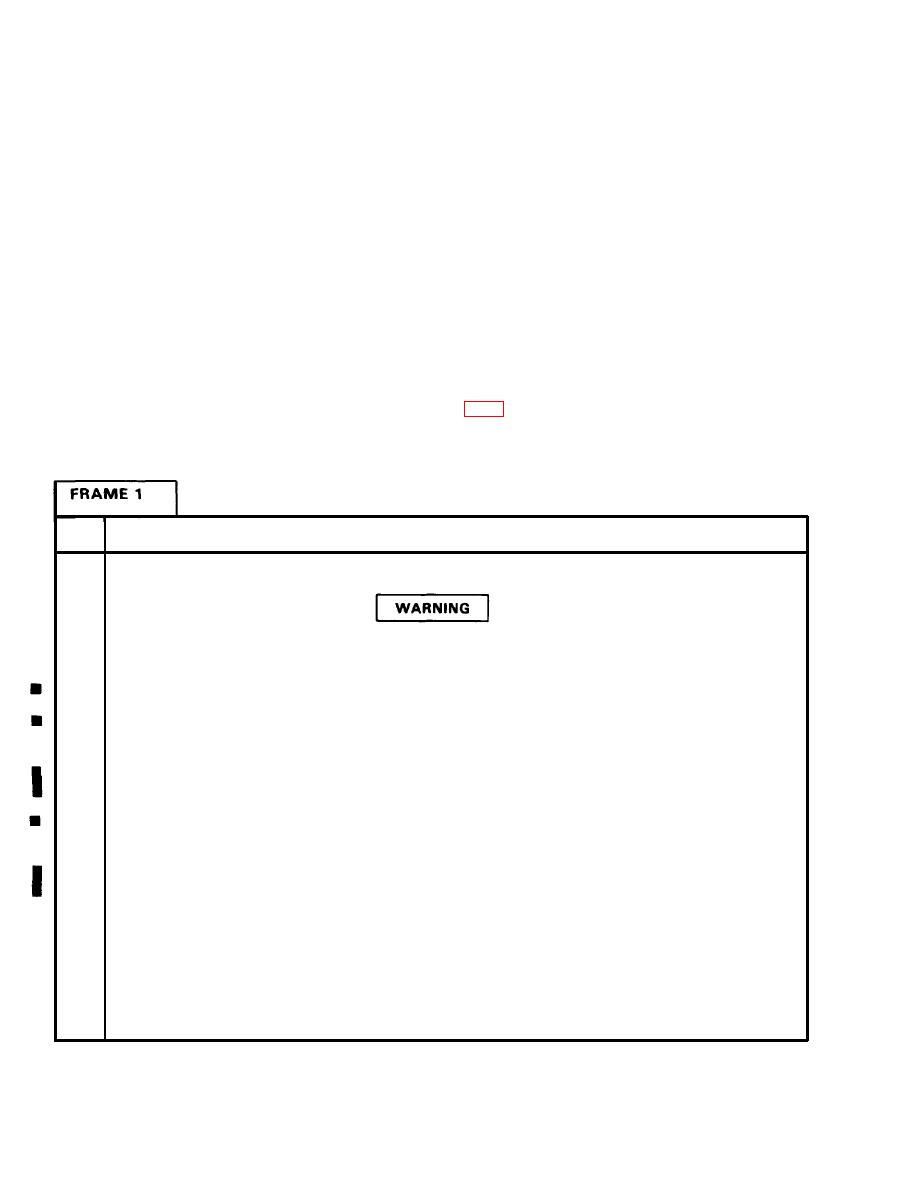
Be careful when installing ballistics cover. Cover is heavy and if it
falls it can hurt you.
1.
Soldiers A and B: Put ballistics cover (1) in place on cupola.
2.
Soldiers A and B: Using 3/4 in. socket wrench, put three lockwashers (2) and three screws (3) through
top of ballistics cover (1).
3.
Soldier A: Using torque wrench, torque three screws (3) to between 65 and 70 foot pounds (88 to 95
Newton meters).
4.
Soldier A: Using Allen wrench, put three lockwashers (4) and three screws (5) through left side of
ballistics cover (1).
5.
Soldier A: Using torque wrench with 1/2 in. hex head socket, torque three screws (5) to between 135
and 145 foot pounds (183 to 197 Newton meters).
NOTE
Follow-on Maintenance Action Required:
Install cupola cover (para 36-4).
END OF TASK
Para 36-7
Change 2
36-8

